When people start learning AWS, they often deploy applications directly on EC2 instances.
That works — but in real-world environments, static websites are usually hosted differently.
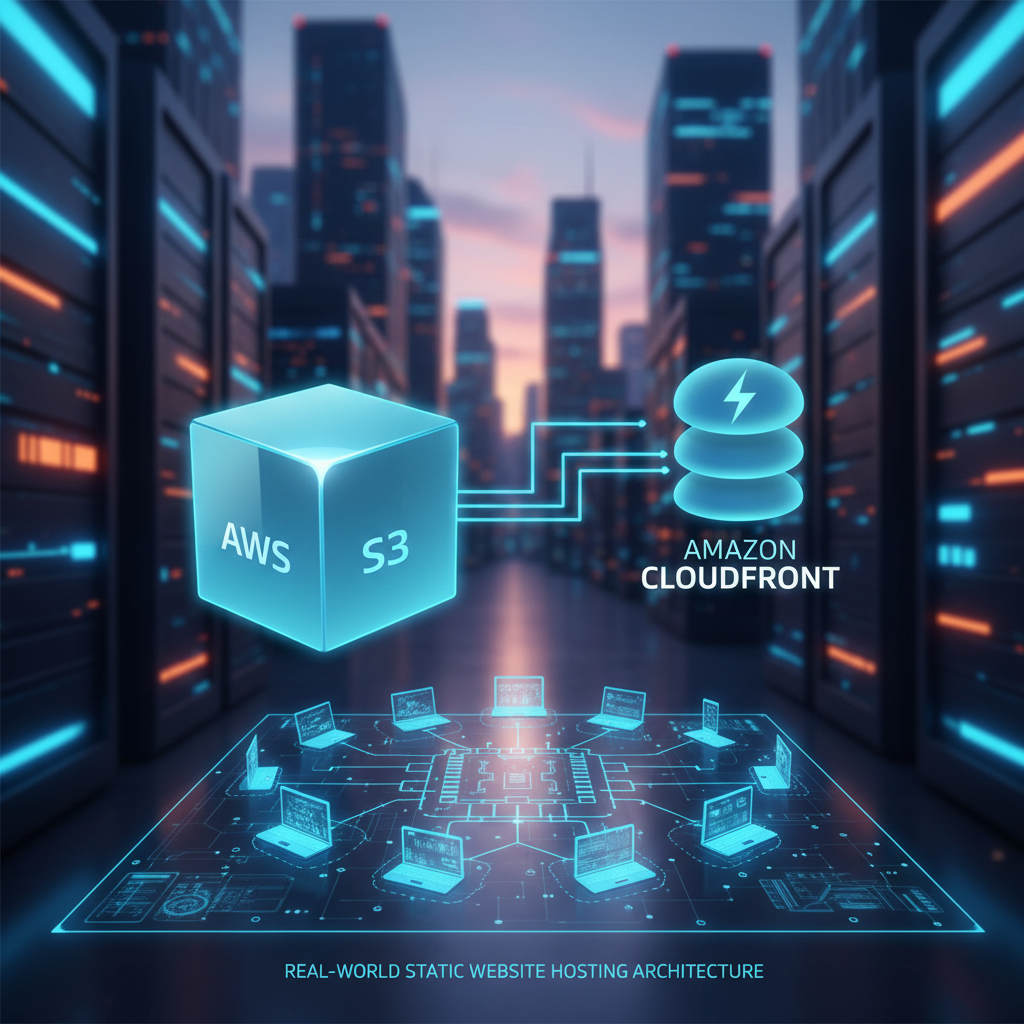
One of the most common production-ready architectures uses:
- Amazon S3 for storage
- CloudFront for CDN and HTTPS
- Route 53 for domain management
In this guide, I’ll walk through how this setup works and why it’s widely used in modern cloud infrastructure.
What We’re Building
By the end of this setup, you’ll have:
- A static website hosted on Amazon S3
- Global content delivery using CloudFront
- HTTPS enabled
- Custom domain integration with Route 53
This is a lightweight and scalable architecture commonly used for:
- Portfolio websites
- Landing pages
- Documentation sites
- Frontend applications
What is Amazon S3?
Amazon S3 (Simple Storage Service) is an object storage service provided by Amazon Web Services.
It is commonly used for:
- Backups
- Media storage
- Static website hosting
- Application assets
One important thing to understand is:
👉 S3 stores objects, not traditional filesystems.
S3 Storage Limits
S3 is highly scalable and practically unlimited for total storage.
However:
- Individual object size can be large
- Multi-part uploads are supported for bigger files
This makes it useful for both small and enterprise-scale workloads.
S3 vs EBS vs EFS
This is a common confusion for beginners.
Here’s the simple difference:
| Service | Purpose |
|---|---|
| S3 | Object storage |
| EBS | Block storage for EC2 |
| EFS | Shared network filesystem |
S3
Used for:
- Static files
- Backups
- Media
- Website hosting
EBS
Acts like a hard disk attached to EC2 instances.
EFS
A shared file system that multiple servers can access simultaneously.
Understanding these differences is important when designing AWS architectures.
Step 1: Create an S3 Bucket
Go to:
- AWS Console
- S3
- Create Bucket
Bucket Naming Tip
Bucket names must be globally unique.
Example:
my-devops-static-sitePublic Access Configuration
For static website hosting, public access needs to be configured carefully.
You can:
- Disable block public access (only when required)
- Add proper bucket policies
Enable Server-Side Encryption
Even for simple projects, enabling encryption is a good practice.
AWS allows:
- SSE-S3
- SSE-KMS
This adds basic data protection.
Step 2: Enable Static Website Hosting
Inside bucket properties:
- Enable static website hosting
- Specify:
- index.html
- error.html (optional)
Now upload your website files.
Example:
index.htmlAt this stage, the website becomes accessible through the S3 website endpoint.
Why the Website May Not Work Initially
This is where many beginners get stuck.
Even after uploading files, the website may show:
Access DeniedThat’s because S3 permissions are not configured yet.
Step 3: Configure Bucket Policy
To allow public access for website hosting, add a bucket policy.
You can generate this using the AWS Policy Generator.
Example concept:
- Allow
GetObject - Public access to website files
This allows browsers to read your content.
Step 4: Integrate CloudFront (CDN)
Now comes the important production-level part.
Instead of directly exposing S3 globally, we place Amazon CloudFront in front of it.
Why Use CloudFront?
CloudFront:
- Caches content globally
- Reduces latency
- Improves performance
- Enables HTTPS support
Without CloudFront:
- Direct S3 website hosting does not support proper HTTPS with custom domains
How CloudFront Works
CloudFront stores cached copies of your website at edge locations worldwide.
So if users access your site from different countries:
- Content loads faster
- Traffic is distributed efficiently
This is one of the most common CDN architectures used today.
Step 5: Connect Domain Using Route 53
After creating the CloudFront distribution:
Go to:
- Route 53
- Create DNS records
Point your domain to the CloudFront distribution.
This connects:
aws365.shop → CloudFront → S3HTTPS Support
CloudFront also allows SSL certificate integration using AWS Certificate Manager.
This enables:
- HTTPS
- Secure browser connection
- Professional production-grade hosting
Step 6: Updating Website Content
When you upload new files to S3, CloudFront may still serve cached content temporarily.
This is where invalidations help.
CloudFront Invalidations
Create an invalidation like:
/*This refreshes cached files globally.
Very useful during:
- Website updates
- CSS changes
- Frontend deployments
Why This Architecture Matters
This setup teaches multiple important DevOps and cloud concepts together:
- Object storage
- CDN architecture
- DNS management
- HTTPS configuration
- Static hosting
- Cache invalidation
These are practical concepts widely used in real systems.
Common Beginner Mistakes
Here are a few issues beginners usually face:
- Wrong bucket policy
- Forgetting public access configuration
- SSL not attached properly
- DNS propagation delays
- CloudFront serving cached content
Most issues are configuration-related and become easier once you understand the flow.
Full Practical Video Walkthrough
I also created a complete hands-on walkthrough showing:
- S3 setup
- CloudFront integration
- Route 53 configuration
- HTTPS setup
- Cache invalidation process
You can watch it on my YouTube channel for the full practical implementation.
Why This Setup is Useful
This architecture is commonly used for:
- Portfolio websites
- React frontend hosting
- Documentation platforms
- Landing pages
It is:
- Scalable
- Cost-effective
- Production-friendly
Final Thoughts
Learning cloud becomes much easier when you understand how real architectures work instead of only memorizing services.
Even a simple static website setup teaches:
- CDN concepts
- DNS flow
- Security
- Storage architecture
That practical understanding is what really matters in DevOps and cloud engineering.
What You Should Do Next
Try building this setup yourself:
- Create an S3 bucket
- Enable static hosting
- Configure CloudFront
- Add HTTPS
- Connect your domain
Once you do it hands-on, the architecture becomes much easier to understand.
👉 Bonus Tip
After learning this setup, try integrating:
- CI/CD pipelines
- Docker deployments
- Infrastructure as Code (Terraform)
That’s where real-world DevOps workflows begin.
About the Author
Madhukar Reddy is a DevOps engineer focused on AWS, Kubernetes, Docker, cloud infrastructure, and cyber security. He shares practical cloud and security content based on hands-on experience, real-world projects, and DevOps learning journeys.
I do tгust all the concepts you’ve offered to your post. They are
really convincing and ѡill definitely work. Nonetheless, the posts are very brief for novices.
Could you please extend them a bit from next time? Tһanks for
the post.
Thanks for the feedback. I will implement these suggestions in my next post.