
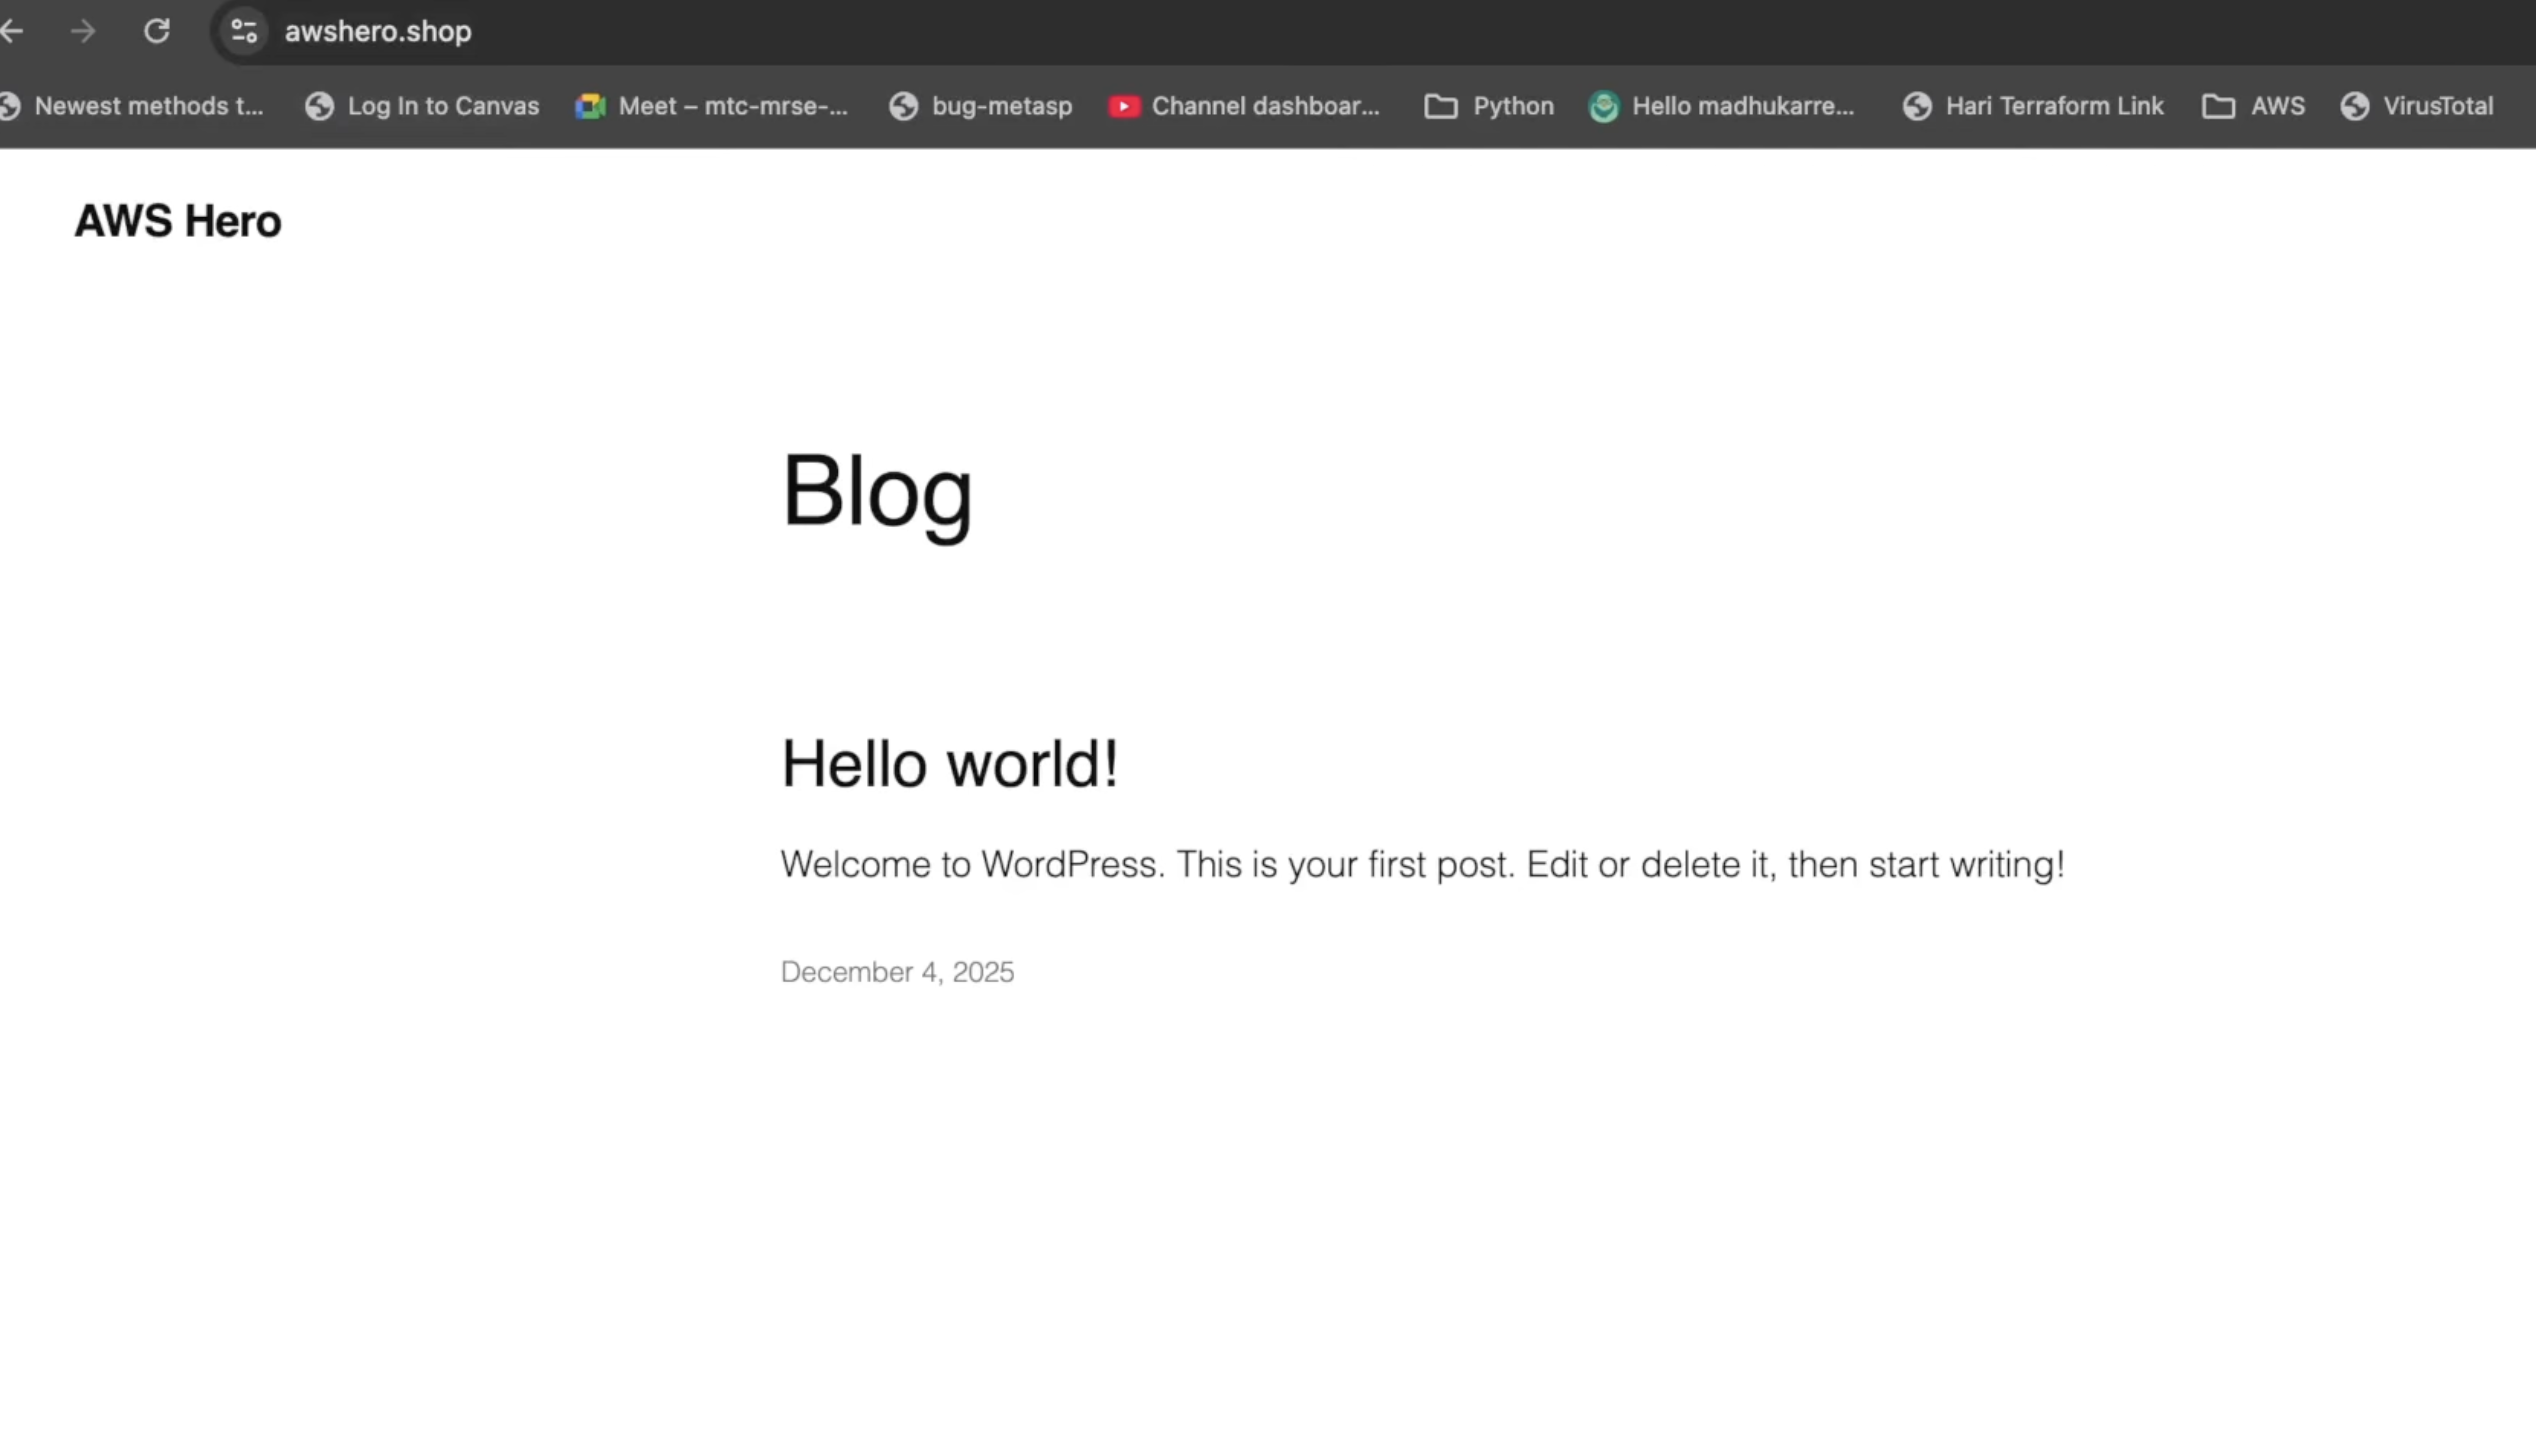
A lot of people deploy WordPress on a single EC2 instance and stop there.
That’s completely fine for learning initially.
But in real-world environments, production applications are usually designed differently:
- proper networking
- database isolation
- load balancing
- SSL
- controlled traffic flow
Once I started learning AWS architecture more deeply, I wanted to understand how these components actually work together in a practical deployment.
So in this project, I built a multi-tier WordPress setup on AWS using:
- VPC
- EC2
- RDS
- Application Load Balancer
- Route 53
- ACM SSL
This ended up being one of the best projects for understanding AWS networking and production-style infrastructure design.
The Architecture
The setup was divided into multiple layers.
Traffic flow looked like this:
Route 53 → ALB → EC2 → RDS
The goal was:
- secure architecture
- proper subnet separation
- HTTPS support
- scalable structure
instead of hosting everything on one public server.
Step 1: Create a Custom VPC
The first step was creating a custom VPC.
Instead of using the default VPC,
I wanted to understand:
- subnetting
- routing
- internet access
- private networking
more practically.
Subnet Design
The architecture included:
- 2 Public Subnets
- 2 Private Subnets
spread across different availability zones.
Why Separate Public & Private Subnets?
Public subnets were used for:
- Load Balancer
- Web server access
Private subnets were used for:
- RDS database
This improves security because the database is not exposed directly to the internet.
That’s a very common production architecture pattern.
Internet Gateway & Route Tables
To allow internet connectivity:
- an Internet Gateway was attached to the VPC.
Then:
- Route Tables
- subnet associations
were configured properly so traffic could flow correctly.
Initially this part felt confusing,
but once I started visualizing the network architecture, it became much easier.
Step 2: Configure Security Groups
Security Groups act like virtual firewalls in AWS.
Separate Security Groups were created for:
- EC2
- RDS
- Application Load Balancer
Security Design
The Security Group rules were designed carefully:
| Resource | Allowed Traffic |
|---|---|
| ALB | HTTP & HTTPS from internet |
| EC2 | Traffic only from ALB |
| RDS | MySQL only from EC2 |
| SSH | Only from your IP |
This layered setup helps reduce unnecessary exposure.
Step 3: Launch EC2 Instance
Next, I launched an Amazon Linux EC2 instance inside a public subnet.
This instance would host:
- Apache
- PHP
- WordPress
and serve as the application server.
Step 4: Configure RDS MySQL
Instead of storing the database locally on EC2,
I used Amazon RDS for MySQL.
This is much closer to real-world deployments because:
- backups become easier
- management becomes simpler
- scaling improves
- database remains isolated
One Important Thing I Learned
Initially, I almost placed the database in a public subnet.
That would have exposed the database unnecessarily.
Keeping RDS private is much safer.
This is why understanding subnet architecture matters.
Step 5: Install WordPress
After connecting to the EC2 instance through SSH,
I installed:
- Apache
- PHP
- MySQL client
- WordPress packages
Basic setup example:
sudo yum install httpd php php-mysqlnd -y
Then Apache was started and enabled.
Connecting WordPress to RDS
Inside:
wp-config.php
I added:
- RDS endpoint
- database name
- username
- password
This connects the WordPress application to the external MySQL database.
Step 6: Configure Application Load Balancer
Instead of exposing EC2 directly,
an Application Load Balancer (ALB) was deployed.
The ALB acts as:
👉 the public entry point for the application.
Why ALB Matters
Application Load Balancers help with:
- traffic distribution
- SSL termination
- scalability
- high availability
- health checks
This makes the infrastructure much more flexible compared to a single public EC2 instance.
Step 7: Configure Route 53
After the ALB was working,
the domain was connected using:
Amazon Route 53
DNS records were pointed toward the Load Balancer.
That allowed traffic to flow properly from the domain into the infrastructure.
Step 8: Enable SSL with ACM
One of the most important steps was enabling HTTPS.
I used:
AWS Certificate Manager
to request a free SSL certificate.
HTTP → HTTPS Redirect
After attaching the certificate to the ALB,
listener rules were configured to:
redirect HTTP traffic to HTTPS
This ensures encrypted communication for all visitors.
Why HTTPS Matters
HTTPS improves:
- security
- trust
- browser compatibility
- SEO
Modern production applications should always use SSL/TLS.
High Availability Concept
One thing I liked about this architecture:
Different services were separated properly.
- Database isolated privately
- ALB handling traffic
- Route 53 managing DNS
- EC2 focused on application layer
This separation makes infrastructure much easier to scale later.
Common Beginner Mistakes
Some common mistakes I noticed during setup:
- incorrect Security Group rules
- wrong Route Table associations
- database placed publicly
- SSL validation issues
- ALB health check failures
Most AWS networking problems usually come down to:
- routing
- permissions
- Security Groups
Important AWS Cost Reminder
One important thing beginners should remember:
AWS resources continue generating charges until deleted.
This includes:
- EC2
- RDS
- ALB
- Elastic IPs
- Hosted Zones
Even small labs can generate costs if forgotten.
Cleanup Process
After testing:
- terminate EC2
- delete RDS
- remove ALB
- clean Route 53 resources
especially while practicing.
This is something I personally try to keep in mind while testing infrastructure.
Full Practical Video Walkthrough
I also created a complete walkthrough covering:
- VPC setup
- public/private subnet creation
- Security Groups
- EC2 launch
- RDS configuration
- WordPress installation
- Application Load Balancer
- Route 53 setup
- SSL configuration with ACM
- HTTP to HTTPS redirect
along with practical AWS console demonstrations and troubleshooting explanations.
👉 Watch the full video walkthrough here:
What Helped Me Understand AWS Better
Honestly, building projects like this taught me AWS much faster than only reading documentation.
Once you:
- configure networking,
- troubleshoot routes,
- connect databases,
- and secure traffic,
cloud concepts start making much more sense.
Why This Project is Valuable
This type of project teaches several important AWS concepts together:
- networking
- security
- DNS
- SSL
- load balancing
- database isolation
- application hosting
Instead of learning services separately,
you understand how real infrastructure works as a system.
Final Thoughts
Deploying WordPress this way may initially feel more complicated than a simple single-server setup.
But it teaches:
- architecture thinking
- cloud networking
- traffic flow
- security best practices
which are extremely useful in DevOps and cloud engineering roles.
What You Should Learn Next
After understanding this setup, explore:
- Auto Scaling Groups
- Dockerized WordPress deployments
- Terraform automation
- Kubernetes ingress
- CloudFront CDN integration
- AWS WAF security protection
Those concepts become much easier once the fundamentals are clear.
Bonus Tip
Whenever learning AWS,
don’t just deploy services blindly.
Try understanding:
- how traffic flows,
- how components communicate,
- and why architectures are designed a certain way.
That mindset changes everything.
Related Guides
If you’re learning AWS and DevOps, also check:
- AWS Auto Scaling Explained
- OpenVPN + VPC Peering
- AWS WAF Explained
- S3 + CloudFront Setup
- Kubernetes Architecture Explained
About the Author
Madhukar Reddy is a DevOps engineer focused on AWS, Docker, Kubernetes, cloud infrastructure, and cyber security. He shares practical cloud and DevOps content based on hands-on deployments, infrastructure troubleshooting, and real-world learning projects.
