
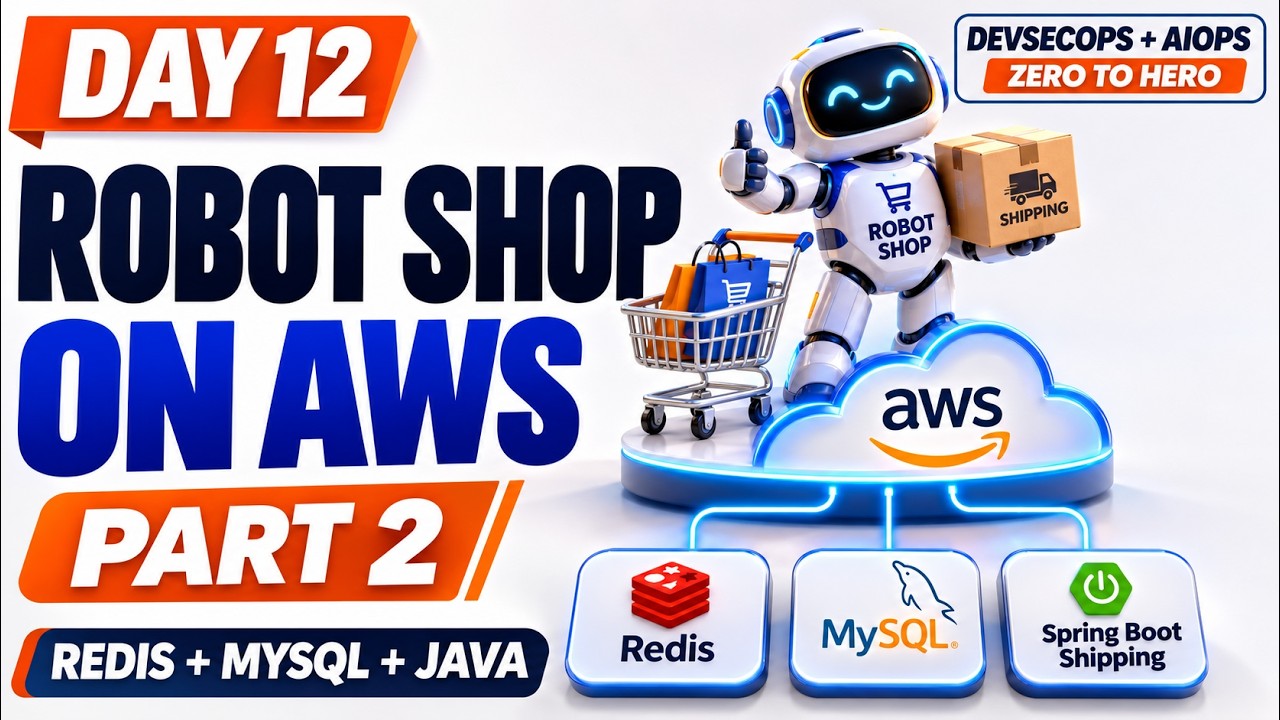
This is Part 2 of a 3-part series on deploying the Robot Shop microservices app on AWS EC2. In Part 1 we deployed MongoDB, the Catalogue service and the Nginx web frontend, so the site could show products.
Now we make the shop actually work: users can register and log in, add products to a cart, and get a shipping quote at checkout. That means deploying Redis, the User and Cart services, MySQL, and the Java-based Shipping service.
This part is also where things break. Services fail to connect, and we have to work out why. That troubleshooting is the most useful skill in the whole series, so I’ve kept it in.
Where we are, and what we’re adding
Browser → Web (Nginx)
            ├── /api/catalogue/ → Catalogue :8080 → MongoDB     (Part 1)
            ├── /api/user/      → User :8080      → MongoDB + Redis
            ├── /api/cart/      → Cart :8080      → Redis + Catalogue
            └── /api/shipping/  → Shipping :8080  → MySQL
Each new component gets its own Ubuntu EC2 instance in the same VPC. Continuing the example private IPs from Part 1:
- MongoDB
10.0.1.10· Catalogue10.0.1.20· Web10.0.1.30 - Redis
10.0.1.40· User10.0.1.50· Cart10.0.1.60 - MySQL
10.0.1.70· Shipping10.0.1.80
Security groups follow the same rule as before: open each port only to the services that call it. Redis 6379 for User and Cart, MySQL 3306 for Shipping, port 8080 on each service for the web server (and Cart’s calls to Catalogue).
A simple habit: find each service’s dependencies first
Before deploying any microservice, open its code and find which environment variables it reads. That tells you exactly what it depends on. For example:
grep -n "process.env" robot-shop/user/server.js
grep -n "process.env" robot-shop/cart/server.js
For Robot Shop this gives us:
- User:
MONGO_URLandREDIS_HOST - Cart:
REDIS_HOSTandCATALOGUE_HOST - Shipping:
DB_HOST(MySQL)
Five minutes of reading saves an hour of guessing why a service won’t start.
Step 1: Redis
User sessions and shopping carts live in Redis. Launch an instance and install it:
sudo apt-get update
sudo apt-get install -y redis-server
Out of the box, Redis only listens on localhost and runs in protected mode, which refuses outside connections when no password is set. Edit the config:
sudo nano /etc/redis/redis.confbind 0.0.0.0
protected-mode nosudo systemctl restart redis-server
sudo systemctl enable redis-server
sudo ss -tlnp | grep 6379Be careful with this one. Redis with no password and protected mode off will accept commands from anyone who can reach port 6379. That’s only acceptable because the security group allows 6379 from the User and Cart servers and nothing else. Never expose it to the internet. In production, also set requirepass or use Redis ACLs, or use a managed service like ElastiCache.
Test it from the User or Cart instance once they exist:
redis-cli -h 10.0.1.40 ping # PONGStep 2: User service (Node.js)
Same pattern as the Catalogue service in Part 1: install Node.js, create a dedicated system user, copy the code to /opt, install dependencies.
curl -fsSL https://deb.nodesource.com/setup_20.x | sudo -E bash -
sudo apt-get install -y nodejs git
sudo useradd --system --no-create-home --shell /usr/sbin/nologin user
git clone https://github.com/instana/robot-shop.git
sudo mkdir -p /opt/user
sudo cp -r robot-shop/user/* /opt/user/
cd /opt/user && sudo npm install
sudo chown -R user:user /opt/user
This time, keep the settings in an environment file instead of inside the unit file. It’s easier to change later:
sudo nano /opt/user/user.envMONGO_URL=mongodb://10.0.1.10:27017/users
REDIS_HOST=10.0.1.40sudo nano /etc/systemd/system/user.service[Unit]
Description=Robot Shop User Service
After=network.target
[Service]
User=user
WorkingDirectory=/opt/user
EnvironmentFile=/opt/user/user.env
ExecStart=/usr/bin/node /opt/user/server.js
Restart=always
RestartSec=5
[Install]
WantedBy=multi-user.targetsudo systemctl daemon-reload
sudo systemctl enable --now user
journalctl -u user -fThe two mistakes that broke it
The first attempt failed, for two very common reasons:
- Wrong syntax in the environment file. systemd’s
EnvironmentFileis not a shell script. It must be plainKEY=valuelines: noexportkeyword, no spaces around=. A line likeexport MONGO_URL = ...is silently ignored or misread, and the service falls back to its default hostnames, which don’t exist on EC2. - Wrong path in the unit file.
ExecStartandEnvironmentFileneed absolute paths that actually exist. A typo shows up insystemctl status useras “No such file or directory” or exit code 203/EXEC.
After fixing either file, always run sudo systemctl daemon-reload before restarting. Otherwise systemd keeps using the old version.
Route it through Nginx
On the web server, add a location block next to the catalogue one from Part 1:
location /api/user/ {
    proxy_pass http://10.0.1.50:8080/;
    proxy_set_header Host $host;
    proxy_set_header X-Forwarded-For $proxy_add_x_forwarded_for;
}
sudo nginx -t && sudo systemctl reload nginxNow register a new account on the website and log in. If both work, User is talking to MongoDB and Redis correctly.
Step 3: Cart service (Node.js)
Cart stores carts in Redis, and calls Catalogue to look up product details and prices. Set it up exactly like User, with its own cart system user and /opt/cart:
sudo nano /opt/cart/cart.envREDIS_HOST=10.0.1.40
CATALOGUE_HOST=10.0.1.20The unit file is the same as User’s, with cart in place of user. Then add the Nginx route:
location /api/cart/ {
    proxy_pass http://10.0.1.60:8080/;
    proxy_set_header Host $host;
    proxy_set_header X-Forwarded-For $proxy_add_x_forwarded_for;
}
Reload Nginx, add a robot to your cart, and watch the cart total update. Remember that catalogue-sg now needs to allow port 8080 from the Cart server too, not just from the web server.
Step 4: MySQL for the Shipping service
Shipping calculates delivery costs based on the destination city, and its city data lives in MySQL. Launch an instance and install MySQL:
sudo apt-get update
sudo apt-get install -y mysql-server
sudo systemctl enable --now mysql
Create the cities database and a shipping user for the service:
sudo mysqlCREATE DATABASE cities;
CREATE USER 'shipping'@'10.0.1.80' IDENTIFIED BY 'Choose-A-Strong-Password-1';
GRANT ALL PRIVILEGES ON cities.* TO 'shipping'@'10.0.1.80';
FLUSH PRIVILEGES;
EXIT;Robot Shop ships the city data as a compressed SQL dump. Copy the mysql/scripts folder from the repo to this server, then import it:
git clone https://github.com/instana/robot-shop.git
cd robot-shop/mysql/scripts
ls                                  # see the dump and config scripts
gunzip -k 10-dump.sql.gz
sudo mysql cities < 10-dump.sql
sudo mysql -e "SELECT COUNT(*) FROM cities.cities;"
Check the scripts in that folder before running them. Robot Shop’s own scripts create a user and password for its Docker setup, so match whatever user and password you configure to what the Shipping service will use.
Step 5: Shipping service (Java + Maven)
Shipping is a Java Spring Boot app, which means a different build process from the Node.js services. Install Java and Maven:
sudo apt-get install -y openjdk-17-jdk maven git
java -version && mvn -version
Build an executable JAR from the source:
git clone https://github.com/instana/robot-shop.git
cd robot-shop/shipping
mvn clean package
ls target/*.jar
The first build downloads a lot of dependencies, so give it a few minutes. Then create a system user and move the JAR into place:
sudo useradd --system --no-create-home --shell /usr/sbin/nologin shipping
sudo mkdir -p /opt/shipping
sudo cp target/shipping-1.0.jar /opt/shipping/shipping.jar
sudo chown -R shipping:shipping /opt/shipping
sudo nano /etc/systemd/system/shipping.service[Unit]
Description=Robot Shop Shipping Service
After=network.target
[Service]
User=shipping
WorkingDirectory=/opt/shipping
Environment=DB_HOST=10.0.1.70
ExecStart=/usr/bin/java -jar /opt/shipping/shipping.jar
Restart=always
RestartSec=10
[Install]
WantedBy=multi-user.targetsudo systemctl daemon-reload
sudo systemctl enable --now shipping
journalctl -u shipping -fUse the exact JAR filename your build produced in target/.
Troubleshooting: “Shipping can’t reach MySQL”
This is the real-world failure from the video. The shipping service started, then the logs filled with database connection errors, something like “Communications link failure” or “Connection refused”.
Here’s how to narrow it down, one layer at a time:
- Is MySQL running? On the MySQL server:
sudo systemctl status mysql. Yes. - What is it listening on?
sudo ss -tlnp | grep 3306showed127.0.0.1:3306. That’s the problem. MySQL was only accepting connections from itself. - Is the network path open? From the shipping server:
nc -zv 10.0.1.70 3306. “Connection refused” (as opposed to a timeout) confirms the security group is fine and the server is actively rejecting the connection.
The fix is the same one we used for MongoDB in Part 1:
sudo nano /etc/mysql/mysql.conf.d/mysqld.cnfbind-address = 0.0.0.0sudo systemctl restart mysql
sudo ss -tlnp | grep 3306 # now 0.0.0.0:3306
sudo systemctl restart shipping # on the shipping serverThen add the Nginx route on the web server:
location /api/shipping/ {
    proxy_pass http://10.0.1.80:8080/;
    proxy_set_header Host $host;
    proxy_set_header X-Forwarded-For $proxy_add_x_forwarded_for;
}
Reload Nginx, go to checkout, pick a country and city, and the shipping cost is calculated. Cart, User, Catalogue, Shipping, Redis, MongoDB and MySQL are all working together.
The general lesson
Almost every “service can’t connect” problem in this series came down to one of three things: the database only listening on localhost, a security group blocking the port, or a wrong host or variable in the service config. The tools that find them are always the same: journalctl -u <service>, ss -tlnp, and nc -zv or curl from the calling server.
Cost reminder
You’re now running eight instances. Stop them when you’re not practising, and keep an AWS Budget alert on.
What’s next
The shop can now show products, manage users, hold carts and calculate shipping. The last piece is taking the money. In Part 3, we deploy RabbitMQ, the Payment and Dispatch services, and complete the order flow.
Missed the start? Go back to Part 1: MongoDB, Catalogue & Nginx Frontend.
Watch Part 2, including all the troubleshooting, on my YouTube channel, Madhukar Reddy (@awsandevops).

Related articles
 AWS
Deploy Robot Shop on AWS EC2 – Part 3: RabbitMQ, Payment & Dispatch (Real-World Troubleshooting)
The final part of the Robot Shop series: deploy RabbitMQ, the Python Payment service and the Go Dispatch service, fix a missing Shipping variable, and watch orders queue and drain in RabbitMQ.
 AWS
Deploy Robot Shop Microservices on AWS EC2 – Part 1: MongoDB, Catalogue & Nginx Frontend
Part 1 of the Robot Shop series: understand microservices, then deploy MongoDB, the Node.js Catalogue service with systemd, and the Nginx web frontend on separate EC2 instances.
 AWS
Build & Deploy a Full-Stack 3-Tier App on AWS EC2 (React, Node.js, MySQL, Nginx)
Deploy a React frontend, Node.js API and MySQL database on three EC2 instances, connect them over private IPs with tight security groups, then add Nginx, a custom domain and free HTTPS.