
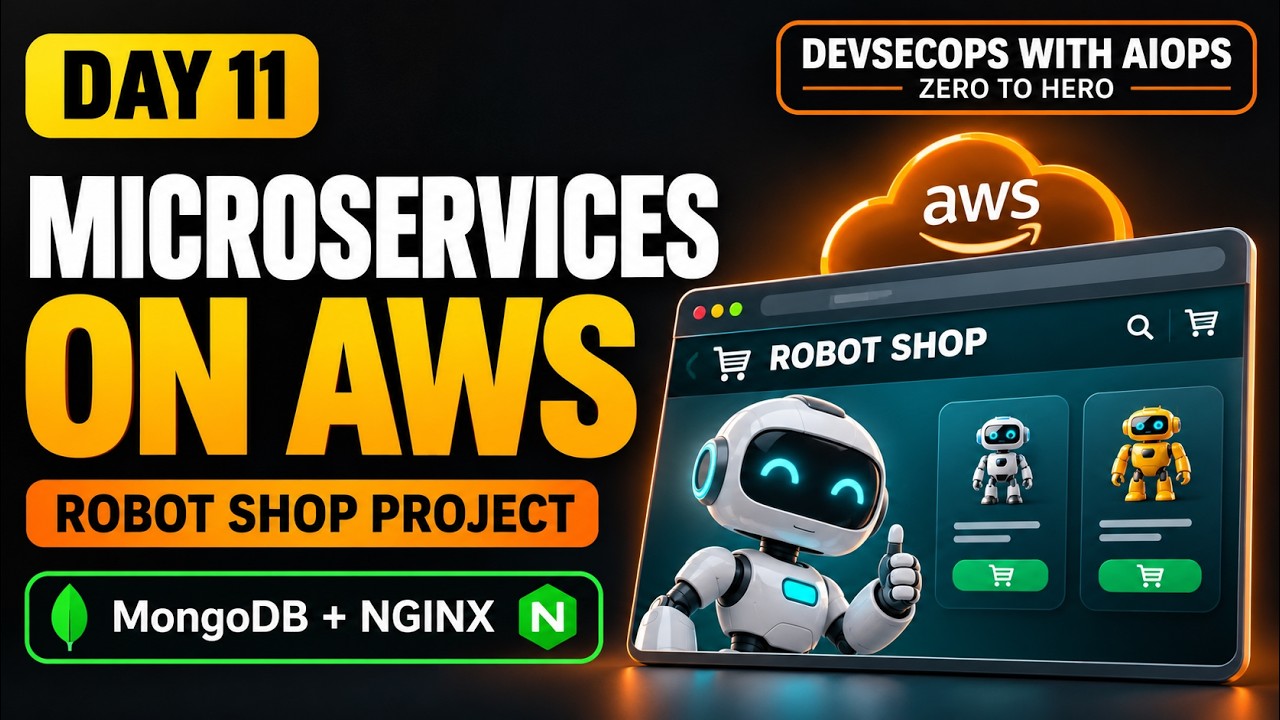
This is Part 1 of a 3-part series where we deploy a real microservices application, Robot Shop, on AWS EC2 by hand, one service at a time.
Robot Shop (originally “Stan’s Robot Shop” by Instana, now part of IBM) is an open-source e-commerce demo built specifically for learning microservices. It’s a good practice project because it isn’t a toy: it uses several languages, two kinds of database, a cache and a message queue, which is what real company systems look like.
In this first part, we’ll understand the architecture, then deploy the first slice of the app: MongoDB, the Catalogue service and the Web frontend with Nginx. By the end, the website will load and show product categories from the database.
Monolith vs microservices
Think of an online store. In a monolith, everything (product listing, user accounts, cart, payments, shipping) is one application, deployed as one unit. It’s simple at the start. But one bug can take down the whole store, every small change means redeploying everything, and you can’t scale just the busy part during a sale.
In microservices, each of those features is its own small service with its own code, its own deployment, and often its own database. They talk to each other over the network, usually via HTTP APIs. If the ratings service crashes, people can still browse and buy. If the catalogue gets heavy traffic, you scale only the catalogue.
The trade-off is complexity: more servers, more networking, more things to monitor. That’s exactly why deploying it by hand, as we do in this series, teaches you so much.
The building blocks in Robot Shop
- Relational database (MySQL): structured data with fixed tables and relationships. Robot Shop uses it for shipping data such as cities and countries.
- NoSQL database (MongoDB): stores flexible, JSON-like documents. Robot Shop keeps its product catalogue and users here, because product data varies a lot from item to item.
- In-memory cache (Redis): keeps data in RAM instead of on disk, so reads are extremely fast. Robot Shop stores shopping carts in Redis, since they’re read constantly and don’t need to live forever.
- Message queue (RabbitMQ): lets one service hand off work without waiting for it to finish. When you pay, the payment service drops a message on the queue, and the dispatch service picks it up and processes the order asynchronously. The user isn’t kept waiting, and if dispatch is slow or down, messages wait safely in the queue.
The main services are web (frontend), catalogue and user (Node.js), cart (Node.js + Redis), shipping (Java + MySQL), ratings (PHP), payment (Python + RabbitMQ) and dispatch (Go). In this part we only need three of them.
What we’re building in Part 1
Browser → yourdomain.com
        → Web EC2 (Nginx, static files)
              └── /api/catalogue/ → Catalogue EC2 :8080 (Node.js)   [private IP]
                                          → MongoDB EC2 :27017      [private IP]
Each component runs on its own Ubuntu 24.04 EC2 instance in the same VPC, and they talk over private IPs. I’ll use these example private IPs. Replace them with yours:
- MongoDB:
10.0.1.10 - Catalogue:
10.0.1.20 - Web:
10.0.1.30(plus a public IP)
Security groups
- mongodb-sg: 27017 only from catalogue-sg (later also from the user service), 22 from your IP
- catalogue-sg: 8080 only from web-sg, 22 from your IP
- web-sg: 80/443 from anywhere, 22 from your IP
Only the web server is reachable from the internet. Everything behind it is private.
Step 1: MongoDB on EC2
Launch an Ubuntu 24.04 instance for MongoDB. Before adding a repository, confirm which Ubuntu release and CPU architecture you’re on, because MongoDB publishes packages per release (24.04 is codenamed noble) and per architecture:
lsb_release -cs     # noble
uname -m            # x86_64 or aarch64 (Graviton)
Add MongoDB’s official repository and install it. MongoDB 8.0 is the version with packages for Ubuntu 24.04:
sudo apt-get install -y gnupg curl
curl -fsSL https://www.mongodb.org/static/pgp/server-8.0.asc | \
  sudo gpg -o /usr/share/keyrings/mongodb-server-8.0.gpg --dearmor
echo "deb [ arch=amd64,arm64 signed-by=/usr/share/keyrings/mongodb-server-8.0.gpg ] https://repo.mongodb.org/apt/ubuntu noble/mongodb-org/8.0 multiverse" | \
  sudo tee /etc/apt/sources.list.d/mongodb-org-8.0.list
sudo apt-get update
sudo apt-get install -y mongodb-org
Start it and make it start on boot:
sudo systemctl enable --now mongod
sudo systemctl status mongod
mongosh --eval 'db.runCommand({ ping: 1 })'
A common mistake here is copying the install commands for a different Ubuntu version. The repository line must match your release, or apt won’t find the packages.
Step 2: The Catalogue service (Node.js)
The Catalogue service serves product data: categories, product lists and product details. Launch a second Ubuntu instance and install Node.js and Git:
curl -fsSL https://deb.nodesource.com/setup_20.x | sudo -E bash -
sudo apt-get install -y nodejs git
Robot Shop is a few years old, so if npm install fails on the newest Node.js, try an older LTS release.
Run it as a dedicated system user
Don’t run services as root or ubuntu. Create a system user that can’t log in, and put the code somewhere neutral:
sudo useradd --system --no-create-home --shell /usr/sbin/nologin catalogue
git clone https://github.com/instana/robot-shop.git
sudo mkdir -p /opt/catalogue
sudo cp -r robot-shop/catalogue/* /opt/catalogue/
cd /opt/catalogue
sudo npm install
sudo chown -R catalogue:catalogue /opt/catalogue
If a service like this is ever compromised, the attacker gets a user with no shell and access only to its own folder, not the whole server. I explain this pattern in more detail in Linux User Setup & Non-Interactive Shell Explained.
systemd service with MONGO_URL
The Catalogue service finds MongoDB through the MONGO_URL environment variable. Point it at MongoDB’s private IP:
sudo nano /etc/systemd/system/catalogue.service[Unit]
Description=Robot Shop Catalogue Service
After=network.target
[Service]
User=catalogue
WorkingDirectory=/opt/catalogue
Environment=MONGO_URL=mongodb://10.0.1.10:27017/catalogue
ExecStart=/usr/bin/node /opt/catalogue/server.js
Restart=always
RestartSec=5
[Install]
WantedBy=multi-user.targetsudo systemctl daemon-reload
sudo systemctl enable --now catalogue
journalctl -u catalogue -fAt this point the logs will show the service failing to connect to MongoDB. That’s expected, and it’s the next fix.
Step 3: Let MongoDB accept remote connections
By default MongoDB only listens on 127.0.0.1, so connections from the catalogue server are refused. On the MongoDB instance, edit the config:
sudo nano /etc/mongod.confnet:
port: 27017
bindIp: 0.0.0.0sudo systemctl restart mongod
sudo ss -tlnp | grep 27017 # should show 0.0.0.0:27017Binding to 0.0.0.0 is acceptable here only because the security group allows port 27017 from the catalogue server and nothing else. Never open 27017 to the internet. Thousands of MongoDB databases have been wiped and held for ransom exactly that way. For a production setup you’d also enable MongoDB authentication.
Back on the catalogue instance, restart the service and check its health endpoint:
sudo systemctl restart catalogue
curl http://localhost:8080/health
A response showing the app is up and MongoDB is connected means the catalogue is working.
Step 4: Web frontend with Nginx
Launch the third Ubuntu instance for the web tier. Install Nginx and copy Robot Shop’s static frontend files into the web root:
sudo apt-get update
sudo apt-get install -y nginx git
git clone https://github.com/instana/robot-shop.git
sudo rm -rf /var/www/html/*
sudo cp -r robot-shop/web/static/* /var/www/html/
Point your domain at the web server
In Route 53, create an A record for your domain (and www) pointing to the web instance’s public IP. Attach an Elastic IP first so the address survives restarts. If you’re new to Route 53 and hosted zones, see DNS Explained: Route 53, Let’s Encrypt & Nginx.
Nginx site and reverse proxy
The browser calls the catalogue API at /api/catalogue/.... Nginx forwards those requests to the catalogue server’s private IP:
sudo nano /etc/nginx/sites-available/robotshopserver {
listen 80;
server_name yourdomain.com www.yourdomain.com;
root /var/www/html;
index index.html;
location / {
try_files $uri $uri/ /index.html;
}
location /api/catalogue/ {
proxy_pass http://10.0.1.20:8080/;
proxy_set_header Host $host;
proxy_set_header X-Real-IP $remote_addr;
proxy_set_header X-Forwarded-For $proxy_add_x_forwarded_for;
}
}The trailing slash in proxy_pass http://10.0.1.20:8080/; matters. It strips the /api/catalogue/ prefix, so a browser request for /api/catalogue/categories reaches the service as /categories, which is the route the catalogue service expects.
Enable the site, test the config and reload:
sudo ln -s /etc/nginx/sites-available/robotshop /etc/nginx/sites-enabled/
sudo rm -f /etc/nginx/sites-enabled/default
sudo nginx -t
sudo systemctl reload nginx
Open your domain. The Robot Shop homepage loads, but the product list is empty, because MongoDB has no data yet.
Step 5: Load the product and user data
Robot Shop ships with scripts that create the catalogue and users collections. Run them with mongosh on the MongoDB instance:
git clone https://github.com/instana/robot-shop.git
mongosh < robot-shop/mongo/catalogue.js
mongosh < robot-shop/mongo/users.js
Verify the data is there:
mongosh
use catalogue
db.products.countDocuments()
db.products.distinct("categories")
Refresh the website, and the product categories appear. That’s a request going from your browser to Nginx on the web server, through the reverse proxy to the catalogue service on a private IP, into MongoDB, and back.
Troubleshooting checklist
- Categories don’t load: open DevTools → Network and check the status of
/api/catalogue/...requests. - 502 Bad Gateway: Nginx can’t reach the catalogue. Check
systemctl status catalogue, the IP and port inproxy_pass, and that catalogue-sg allows 8080 from web-sg. Test from the web server:curl http://10.0.1.20:8080/health. - Catalogue keeps restarting:
journalctl -u catalogue. Usually it’s a wrongMONGO_URL, MongoDB still bound to 127.0.0.1, or port 27017 blocked. - apt can’t find mongodb-org: the repository line doesn’t match your Ubuntu release.
Keep your AWS bill under control
You now have three instances running. When you’re done practising, stop them from the EC2 console instead of leaving them on overnight. Stopped instances don’t charge for compute, but their EBS volumes and any Elastic IPs not attached to a running instance still cost a little, so release what you don’t need when you finish the series. Setting an AWS Budget alert is also worth the two minutes.
What’s next
We have the first slice working: Web → Catalogue → MongoDB. In Part 2, we deploy Redis, the User and Cart services, MySQL and the Java Shipping service, and fix the real connection failures that come up along the way. If you need a refresher on the Linux and systemd basics used here, start with Linux Zero to Hero.
Watch Part 1 step by step on my YouTube channel, Madhukar Reddy (@awsandevops).

Related articles
 AWS
Deploy Robot Shop on AWS EC2 – Part 3: RabbitMQ, Payment & Dispatch (Real-World Troubleshooting)
The final part of the Robot Shop series: deploy RabbitMQ, the Python Payment service and the Go Dispatch service, fix a missing Shipping variable, and watch orders queue and drain in RabbitMQ.
 AWS
Deploy Robot Shop on AWS EC2 – Part 2: Redis, User, Cart, MySQL & Shipping (Fixing Real Connection Failures)
Part 2 of the Robot Shop series: deploy Redis, the User and Cart services, MySQL and the Java Shipping service on EC2, and troubleshoot the real connection failures along the way.
 AWS
Build & Deploy a Full-Stack 3-Tier App on AWS EC2 (React, Node.js, MySQL, Nginx)
Deploy a React frontend, Node.js API and MySQL database on three EC2 instances, connect them over private IPs with tight security groups, then add Nginx, a custom domain and free HTTPS.